One function that has transformed the way we work in Adobe Photoshop is the ability to automatically generate images from named layers. This is particularly useful when you have multiple artboards or layers in your PSD that you’d like to save individually. If you make a change to your image, no need to re-export, it will automatically update. It can save you a lot of time and works like magic! Here’s a step-by-step on how to utilise this feature…
Step 1: Create your artboards/layers.
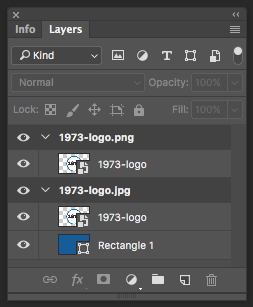
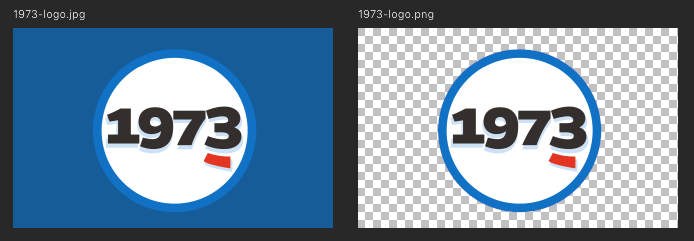
Step 2: Name your artboards/layers with the file extension you want to output for example ‘1973-logo.jpg’.
Additionally, you can define the parameters of the file type to customise quality and size. The named layer ‘42% 1973-logo.jpg’ would output a file 42% of the original size. Adobe have provided a great resource for the file types you can generate: https://helpx.adobe.com/photoshop/using/generate-assets-layers.html
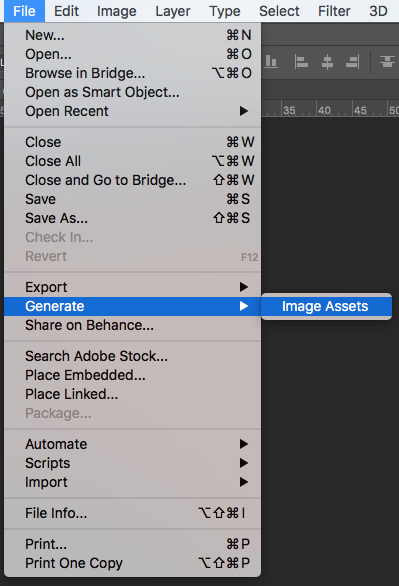
Step 3: Ensure your document is saved. Then go to File > Generate > Image assets.
Step 4: A folder is automatically saved ‘PSD name – assets’ in the same location as your PSD file. It will contain all of the separate artboard/layer file exports you have defined.
An error text file will be generated if there is anything wrong with your layer names. You can use this to help you fix the issues. A common error occurs if you have named two of your layers the same name. You should then change both of the layers with the same name to clear the conflict and allow the save.
Summary: We hope you find this blog helpful in speeding up your workflow! Generate your assets now – magic wand optional!
