A key trend that is set to continue this year is the use of more natural looking photography across marketing channels. The rise of social media has influenced the visual messages we want to see. Pictures that don’t look as perfect are becoming increasingly popular, with the hashtag #Nofilter becoming one of the most common hashtags on Instagram. These images showcase ‘real’ people but are nevertheless carefully crafted. I’d like to share with you seven techniques using Adobe Photoshop to achieve this look…
1. Skin: Soften effect
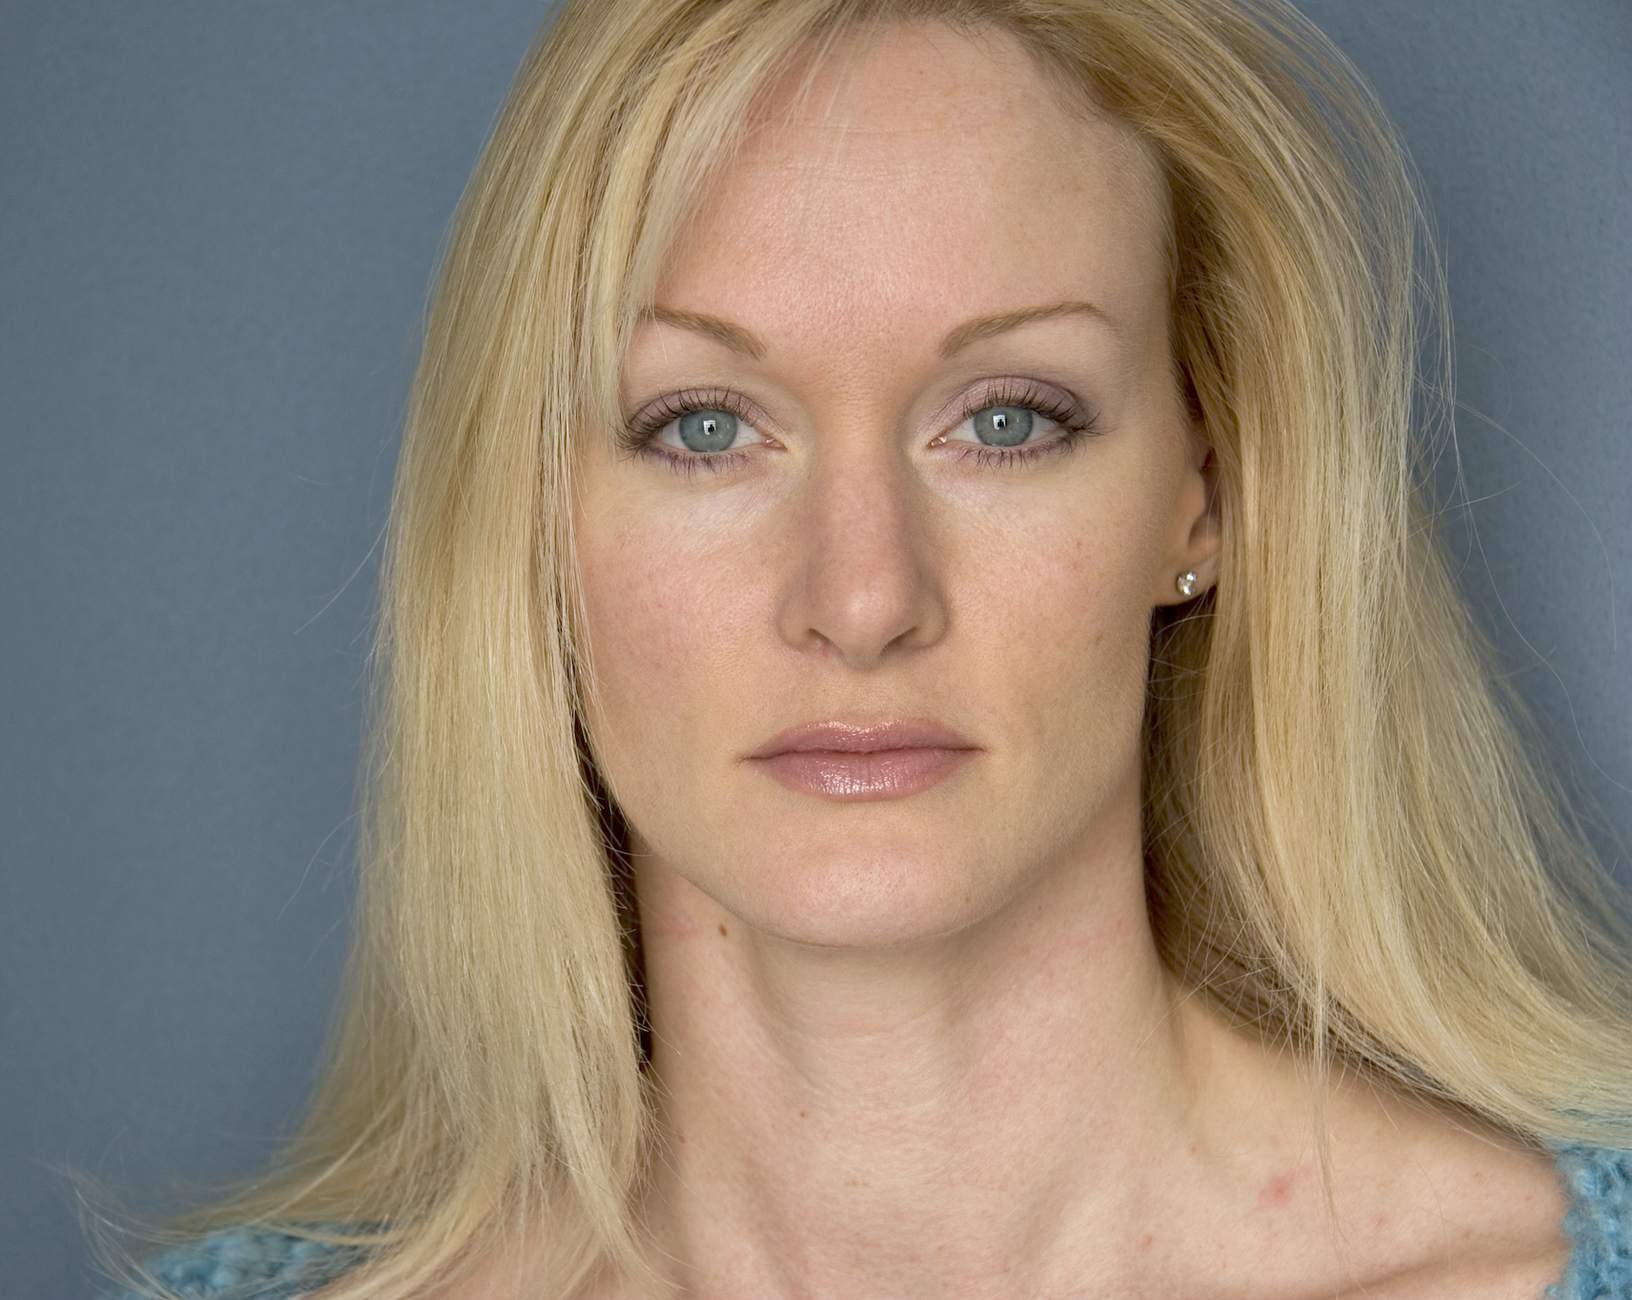
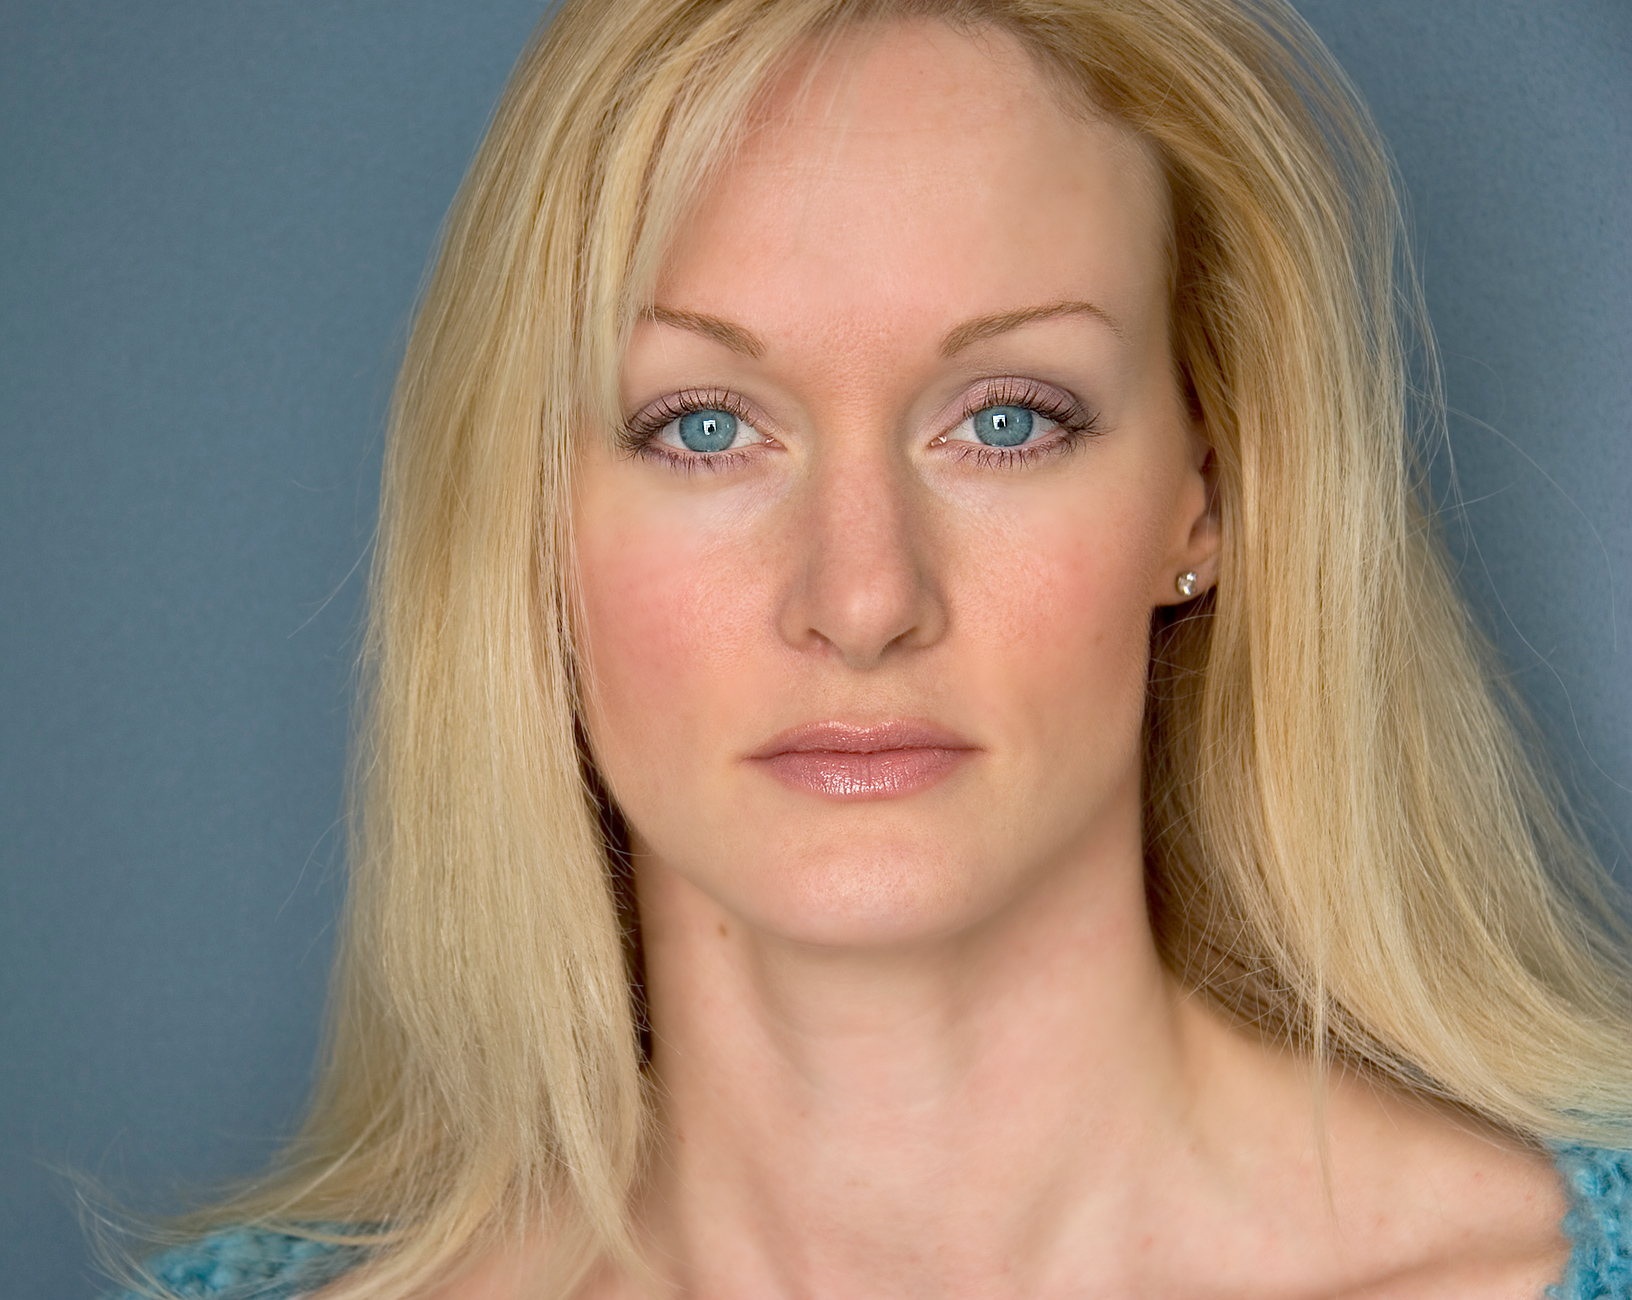
(Original image shown on the left.)

- Duplicate your image layer.
- Hold down the ‘Alt’ key and click on ‘Layer Mask’. (This creates an inverted layer mask).
- Click on the image, Filer > Blur > Guassian Blur > Alter the radius to adjust the amount of blur 1px should be fine.
- Click on your layer mask.
- Select the brush tool and paint on the mask in white on the areas of skin that you want to soften – showing the blur underneath.
2.Eyes and lips: Sharpen effect

- Duplicate your original image layer.
- Create an inverted layer mask.
- Select your brush tool and paint over the eyes and mouth to bring out any detail that was lost when softening above.
- Select the image, use the sharpen tool over the eyes and mouth.
3.Removing blemishes: Spot healing brush
- Hold down ‘Cmd-Alt-Shift-E’ to create a composite of all the layers you’ve done so far.
- Select the ‘Spot healing brush’. Use this tool on any blemishes you want to remove
4.Brightening eyes: Levels – Lighten
- Create a new adjustment layer and select ‘Levels’.
- Select the pre-set named ‘Lighter’.
- On your inverted layer mask paint over the whites of the eyes to make the brighter.
5.Re-colour eyes: Colour balance

- Create a new adjustment layer and select ‘Colour balance.’
- Move the slider to deepen the blue of the eyes.
- On your inverted layer mask paint over the eyes to reveal the more intense colour – or change the colour completely, it’s up to you!
6.Adding volume to the hair: Liquify

- Create a composite of all of the other layers so far.
- Filter > Convert for Smart Filters.
- Filter > Liquify.
- Use the ‘Forward warp tool’ to plump up the hair.
- Click ‘ok.’
7. Adding colour to the cheeks: Colour balance
- Create a new adjustment layer and select ‘Colour balance’.
- Increase the red slider to add more colour.
- On your inverted layer mask paint over the cheeks to bring out the red colour.
Final thought
A key thing to note when retouching for a natural look is less is more. When you think you’ve achieved the right result… step away from Photoshop… or risk ruining the subtle look you were aiming for!
Thanks to Certitec for the use of this photo and for a great Adobe Photoshop course where much of the above was learnt!
