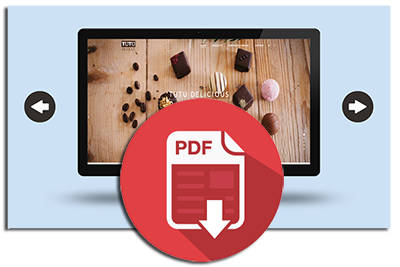
Ever wanted to jazz up your PDF documents and really make them stand out from the norm? We’ve been looking into ways of adding interesting features such as interactivity, animation and video to take PDF content from good to great. In this blog post we’ll take you through the steps needed to create an interactive carousel in a PDF using Adobe InDesign.
Note: You may need to open in Adobe Acrobat to see the interactivity – some PDF viewers block the interactive content.
Overview of the interaction
We will create an interactive carousel using the button functionality within InDesign. Hiding and showing each button, in response to the user interaction will achieve this. We’ve used coloured screens throughout this tutorial so that you can easily see what is happening. We’ll explain how to swap these for your real content in the final step.
Step 1: Set the scene
- Set up your new document with your preferred design.
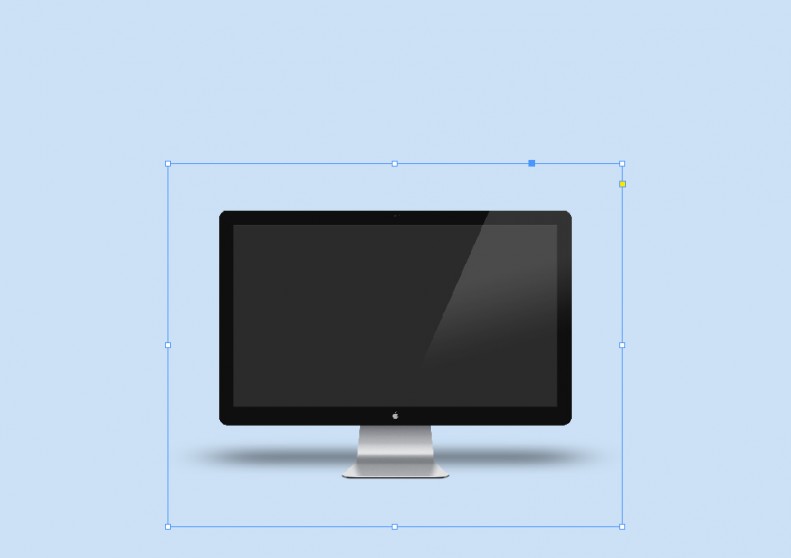
- Place something on the page to contain the carousel, such as a monitor image.
Step 2: Create the screens to browse through
- For now, we will use coloured rectangles for the screens, which you can swap for your final content later.
- Click on the rectangle tool and draw a rectangle over the monitor screen.
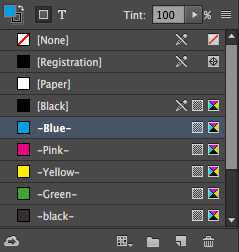
- Choose a green fill and stroke colour.
- Copy and paste in place 3 times, choosing a different colour for each rectangle. For the purpose of this tutorial the order of the rectangles is essential, so please ensure the bottom layer is green, then yellow, then pink and then blue at the top.

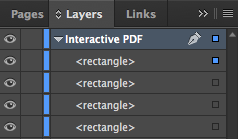
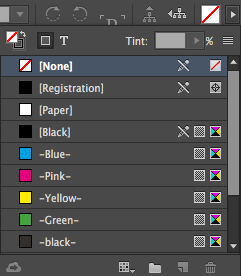
Note: To check you have four rectangles go to your layers panel and you will see four rectangle layers. You can hide and show each layer by toggling its visibility using the eye button. Ensure you get the order right by dragging the layer position up or down.
Step 3: Make the rectangles into buttons
- Go to window in the top menu, select interactive and click buttons and forms.
- Select your blue rectangle, click on the type dropdown and select button. You don’t need to worry about the action or appearance sections as we don’t need the screen images to be interactive themselves, they will be triggered to show/hide with our arrow buttons in a later step.
- Name your screen button something meaningful, we have called ours screen – blue.
- Repeat this for the other 3 rectangles renaming them using the format screen – pink, screen – yellow and screen – green.
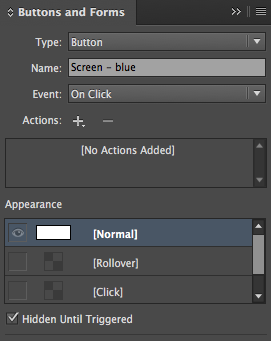
- Tick the hidden until triggered box for the blue, pink and yellow screens but leave this un-ticked for the green screen. The green screen is the first screen, so we want this to appear. The other screens will be triggered by the forward and back buttons, which we’ll cover next.
Step 4: Create the forward and back buttons
- Create the forward and back buttons in InDesign using the circle shape and an arrow image (or place them into the document if created elsewhere).
- Select the back and forward buttons and assign their type as button by repeating step 3. Remember to name them something meaningful; we’ve named ours FORWARD – blue and BACK – blue.
- To add a rollover state to the buttons click on the rollover row in the appearance section in the buttons and forms. We’ve changed the circle colour to blue for the rollover and click states.
- Select on click in the event dropdown.
- Click the plus icon next to actions to select what you want to happen once the button is clicked. In this case we want to show/hide buttons and forms.
- Select both the buttons and copy these 3 times (each screen will need it’s own set of buttons). Rename these FORWARD – pink, BACK – pink, FORWARD – yellow, BACK – yellow and FORWARD – green, BACK- green. (Event, action and appearance settings will stay the same.)
- Tick the hidden until triggered box for the blue, pink and yellow forward and back buttons but leave this un-ticked for the green forward and back buttons. (The green screen is the first screen, so we want this to appear with its buttons.)

Note: You will now have 4 coloured screens and 4 sets of buttons. To work quickly with these and allow easy selection make all of these visible by moving them up slightly as shown below (we’ll align them all later in step 6).

Step 5: Set the visibility of the buttons
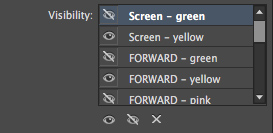
- In the buttons and forms window you will see the visibility panel.
- You need to set the visibility of each button by clicking on the eye button and the crossed out eye to show and hide it.
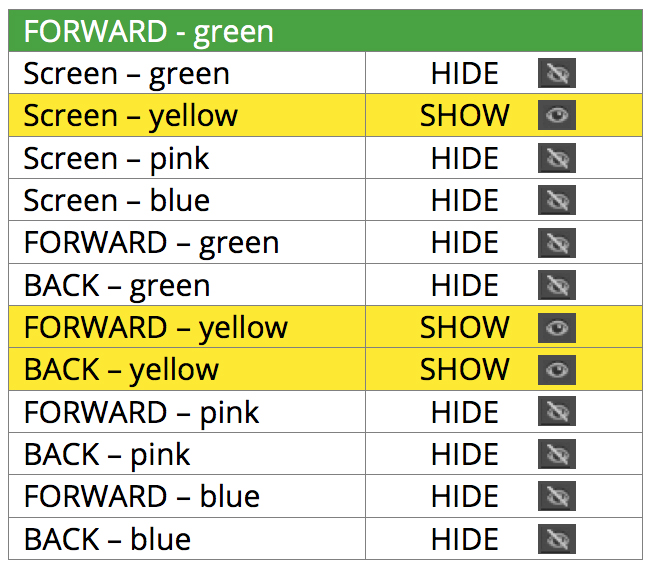
The table below shows what is hidden and shown for the FORWARD – green button. As you can see everything is set to hide apart from the next screen colour and it’s forward and back buttons. Use this rule to set all of the other forward buttons. For the back buttons just show the previous colour screen and buttons.
Step 6: Place the screens in the correct position
- As we moved the screens and buttons out of place for step 5, we now need to move the screens on top of the monitor and the buttons either side of it.
- Move green screen and its buttons into the correct position.
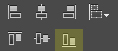
- Select the all of the screens and click on the align bottom edges button in the top panel.
- Next select all of the buttons and click the align bottom edges button again.
Note: Doing this means all the buttons will sit on top of each other perfectly – so you don’t get a jumpy effect in the interaction.
Step 7: Publish your interactive PDF
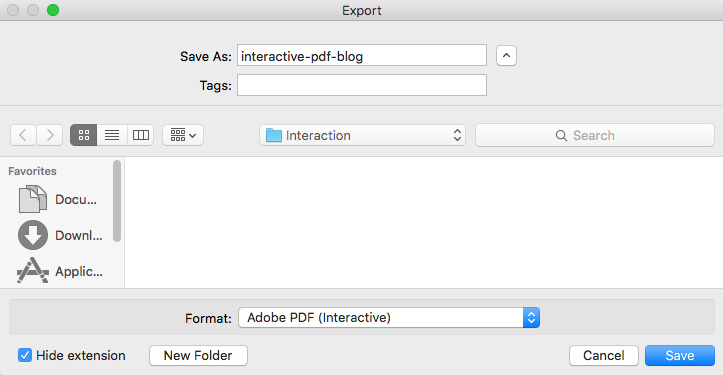
- Go to file in the menu bar and select export.
- Select Adobe PDF (interactive) as the format.
- Click save and then on the next screen click ok.

Step 8: Add your content
Now that you have a working carousel you can place some images into your screens replacing the solid colours.
- Go to file and place.
- Select the your image and click on the screen – green button to place it in.
- Click on the screen – button and remove the fill colour.
- You will now see your image instead. Repeat this for the other 3 screens.
Note: You will need to use the layers panel to view the screens lower in the stack or move them so you can select the ones under each other.

 To view our published PDF download it here.
Note: You may need to open in Adobe Acrobat to see the interactivity – some PDF viewers block the interactive content.
Summary
In a world where audiences need to engage with your content immediately or they will quickly disregard it, it’s vital you make them take notice. Giving users the ability to interact with your content enables them to feel part of the experience and more likely to share this with others. Give this tutorial a go, and you too will realise that PDFs can be interesting and innovative!
