Frustrated by the lack of engagement your emails are gaining? Concerned they’re getting lost in the crowd?
Email is an integral part in today’s busy marketing world, no surprises given it attracts one of the highest ROI in the digital arena, yet grabbing the attention of your prospects is no mean feat. With inboxes constantly being bombarded, getting your email to stand out from the crowd can be challenging, yet it’s crucial if you’re going to succeed. And this is where animated GIFs can help!
Why use animated GIFs?
This form of media is a great way of drawing attention, the moving images become more visible to the recipient so they instinctively turn their attention in that direction. This encourages longer read times, hence more opportunity for you to communicate your message.
GIFs are widely supported in email clients, however you do need to be aware Outlook 07 – 13 and Windows Phone 7 won’t support animation. To help overcome this it’s essential the first frame contains any important information and a link is included to a full online animated version.
It’s worth noting there is also a limitation of 256 colours and the maximum recommended file size is 2MB.
A how-to guide for creating a GIF – The Workflow Process
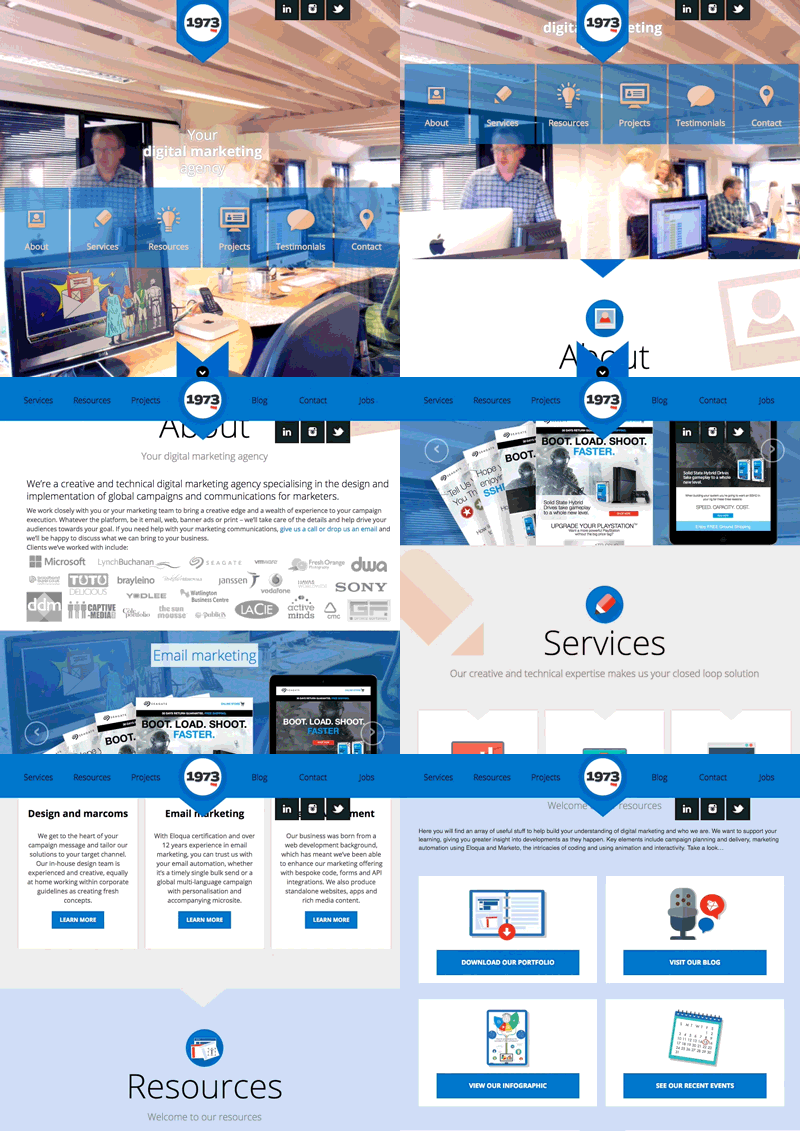
There are 3 key steps for capturing a scrolling web page to create an animated GIF:
- Capturing the screen on a Mac – using QuickTime Player (V10.4)
- Editing the video with Adobe Premiere Pro CC
- Creating an animated GIF within Adobe Photoshop CC
Before we get started, here’s some tips to help optimise your animated GIF:
- When importing videos use every 3rd frame to reduce the filesize.
- Animate only the parts that are changing – You don’t have to animate the whole image, maybe just a section of it is actually changing, this will reduce the filesize. In Photoshop hide layers that you’re not using.
- Keep the animated image as small as possible to reduce file size.
- Keep the length or amount of frames in your animated GIF short as possible to reduce file size remember the email client has to download the full file before it plays. If you need to reduce the filesize even further try taking out addition frames from the sequence.
- Reduce the colours if you can especially if you have flat colour illustrations. For detailed stills probably not.
- Lossy (Save for Web window in Photoshop) – try to increase this setting to reduce the filesize of GIF.
Let’s get going:
Capture screen with Quicktime Player (Mac)
- Open QuickTIme Player
- Start a new recording by doing the following: File > New Screen Recording

- A black panel will appear with a red button – click this button

- Another panel will appear to say that the next click will activate the recording

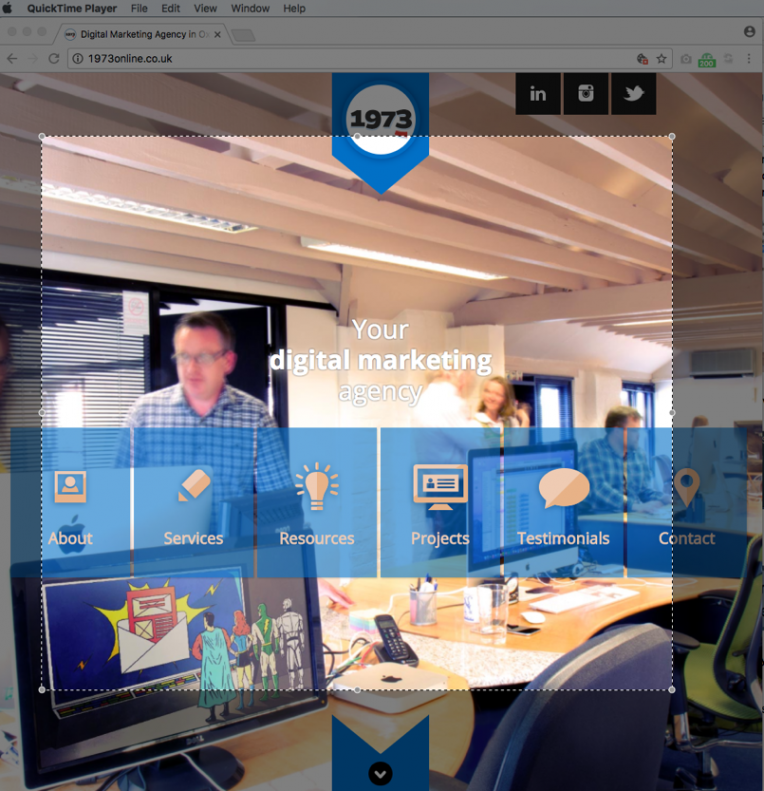
At this point you can crop the area of the screen you want to recording

- Now click the screen and you are now recording your screen
- As you are recording this icon will show to say that it’s recording (left one)

- To finish – click that icon or press the Escape key on your keyboard
- You can now see the captured video created
To Save the video do the following:
File > Save and save the video

Edit video with Adobe Premier Pro CC
(You can ignore this step if you simply want to use the video as captured)
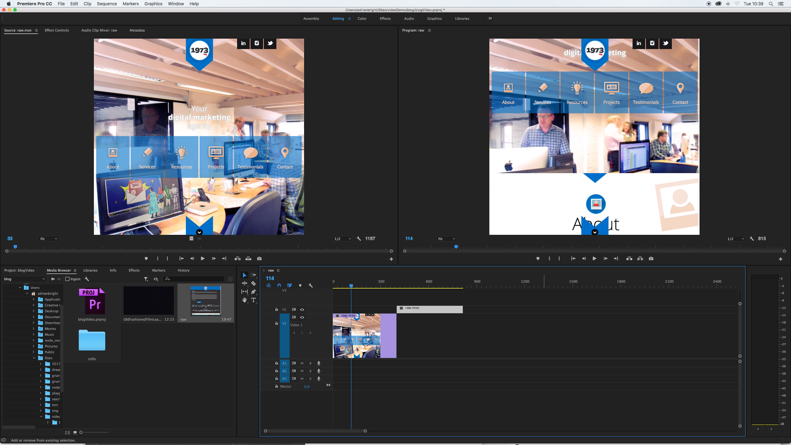
- Import Quicktime video file

- Edit the video and add some magic

- To Save the edited video do the following: File > Export > Media

- This will bring up a window and select the following: Format: H264 Preset: Match Source – high bitrate

- Press export
Open video in Photoshop
- Open video by doing the following: File > Import > Video Frames to Layers

- This will bring up a window Select Limit to Every 3 frames and press OK

- Preview the video in the timeline and adjust the frame rate

- Save for Web selecting GIF

- Export animated gif. DONE

Also there is an alternative way to capture video using LICEcap
View this article:
LICEcap and Photoshop – the perfect combo for screen capture GIF creation! by Victoria Fairbank