I recently went ‘back to school’ and completed an advanced Adobe Photoshop Course. I thoroughly enjoyed being back in the classroom, with the opportunity to learn so many new tips and tricks.
By the end of the course, I’d filled my notebook with an array of tutorials on how to create some really interesting effects. It now has pride of place on my desk, as my go-to-guide for everything Photoshop related! I’d like to share my top 5 takeaways from the experience and hope they will inspire you to try a few out:
1. Smart Filters – Iris Blur


*Original image on the left, blur applied to image shown on the right.
- Open your image.
- Right click on image layer and ‘Convert to Smart Object’.
- Go to the Filter menu > Blur Gallery > Iris Blur.
- Alter the radius of the blur by clicking and dragging the handles of the iris shape accordingly.
- Click ‘OK’ when complete.
Summary: I found this tutorial really useful. Converting your imagery to smart objects before you undertake any type of photo manipulation is essential. This is a non-destructive way of working, as it creates a smart filter layer that can easily be deleted if you decided you want to remove the effect at a later stage.
2. Blend Modes – Overlay


*Original image on the left, blend mode used shown on the right.
- Open your image.
- Right click on image layer and ‘Duplicate Layer.’
- Select your duplicated layer.
- Choose a blend mode to apply e.g. ‘Overlay’
- File ‘Save’ when complete.
Summary: Blend modes are a great way to quickly alter your images. To understand how they work in depth I would recommend reading this blog: http://photoblogstop.com/photoshop/photoshop-blend-modes-explained. Try them all out and see what effects you get! ‘Lighten’, ‘Screen’ and ‘Hard light’ are a few of my favourites.
3. Content Aware Tool
Content Aware – Move
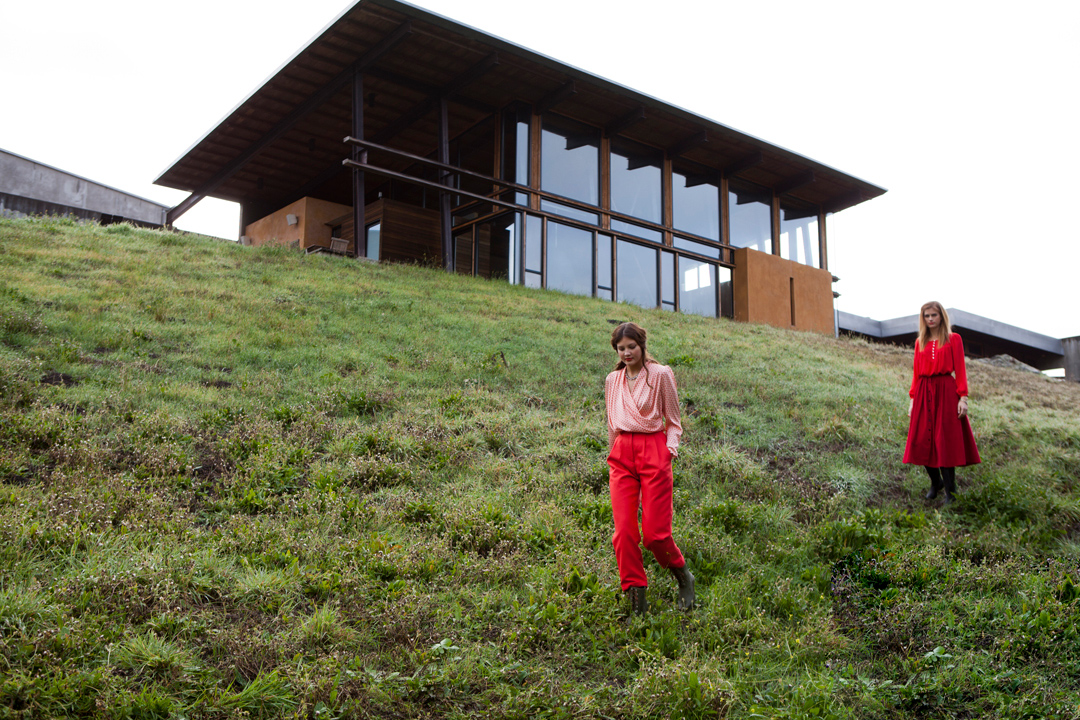

*Original image on the left, new image shown on the right with the girl’s position changed.
- Open your image.
- Select the ‘Lasso’ tool and draw around the person you want to move.
- Select the ‘Content Aware Move’ tool.
- Set the mode to ‘Move’.
- Ensure that you have ticked ‘Sample all layers’.
- Create a new layer.
- Drag your selected person to the new position and resize to fit the new perspective.
- Hit enter to confirm the move or click the tick icon.
Summary: This is a great tool for altering the position of objects or people in an image. It magically does the work for you! To go one step further, I’d suggest using the clone stamp and sharpen tool within the area that has been filled for a more realistic looking result.
Content Aware – Extend


*Original image on the left, new image shown on the right with the extended section added.
- Open your image.
- Select the ‘Lasso’ tool and draw around edge you want to extend.
- Select the ‘Content Aware Move’ tool.
- Set the mode to ‘Extend’.
- Ensure that you have ticked ‘Sample all layers’.
- Create a new layer.
- Drag your selection to the new position.
- Hit enter to confirm the move or click the tick icon.
Summary: This allows you to easily extend your imagery, giving a seamless effect between the original image and the extended section.
4. Shadow/Highlights adjustment


*Original image on the left, new image shown on the right with increased detail.
- Open your image.
- Image > Adjustments > Shadows/Highlights.
- Increase the shadow slider until you see the detail of the image.
Summary: This is so quick to do, but can make a big difference to images that you may have just thought were too dark. Just shows they can be improved, so don’t discard them!
5.Crop Tool – Straighten


*Original image on the left, new image shown on the right with the horizon line now appearing straighter.
- Open your image.
- Select the ‘Crop’ tool.
- Click the ‘Straighten’ button.
- Draw along the line you want to straighten (in this example I’ve straighten the horizon line).
- Hit enter to confirm, or click on the tick button.
Summary: I’d never used this tool before the course but think it’s definitely worth a mention, as it is so simple to use and gives you a great result.
Final thought
I passed my accreditation course, making me an Adobe Certified Associate (I certainly look very proud in my class picture). It was a fantastic course and if I take one thing away it would be to never stop learning. There are endless effects and techniques to discover in Adobe Photoshop – keep checking our blog to discover more of my favourites!